
Hackathon Starter
=================
A kickstarter for **Node.js** web applications.
When I started this project, my primary focus was on **simplicity** and **ease of use**. Anyone who knows a little bit of JavaScript should be able to get started without too much pain. I tried to make it as **generic** and **reusable** as possible to cover most use cases of hackathon web apps, without being too specific.
Chances are, you will not need all 4 types of OAuth2 authentication methods, or all 9 API Browser examples. Sadly, there is no step-by-step wizzard to configure the boilerplate code just for your use case. So, use what you need, simply delete what you don't need.
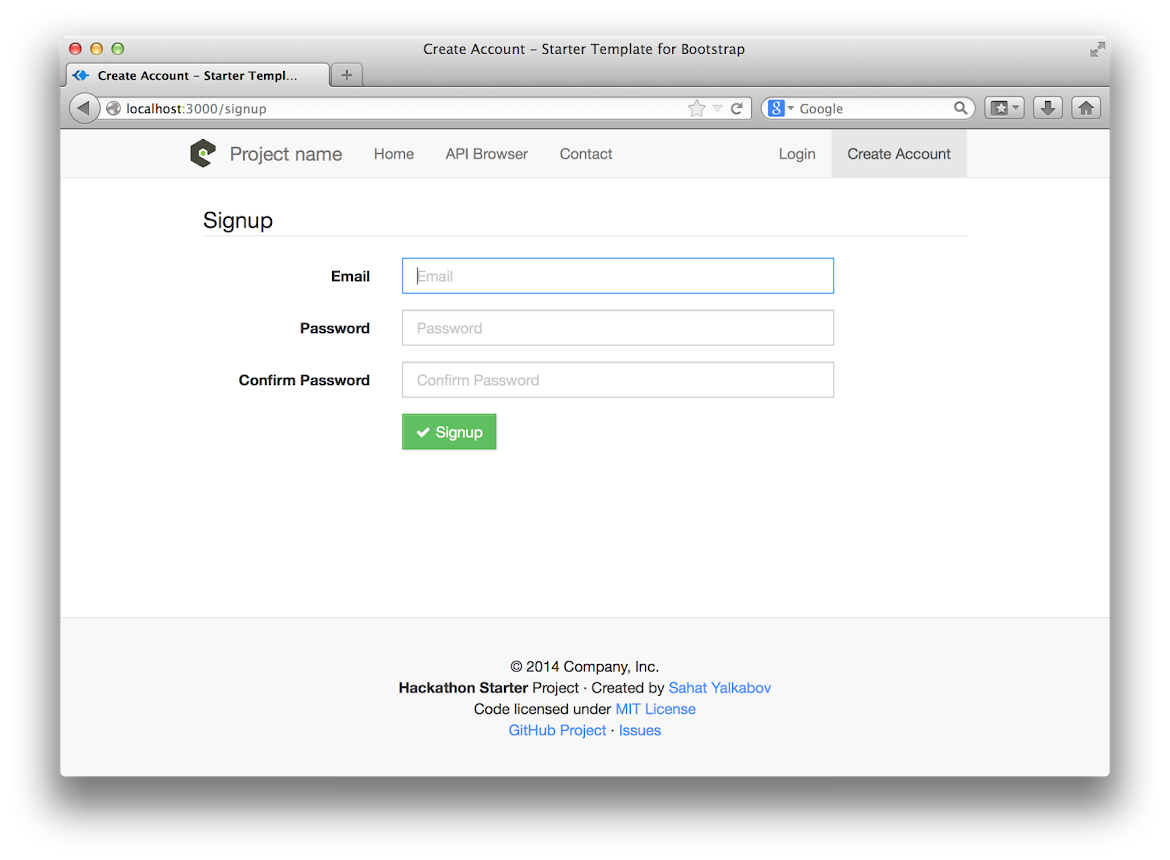
Flatly Bootstrap Theme
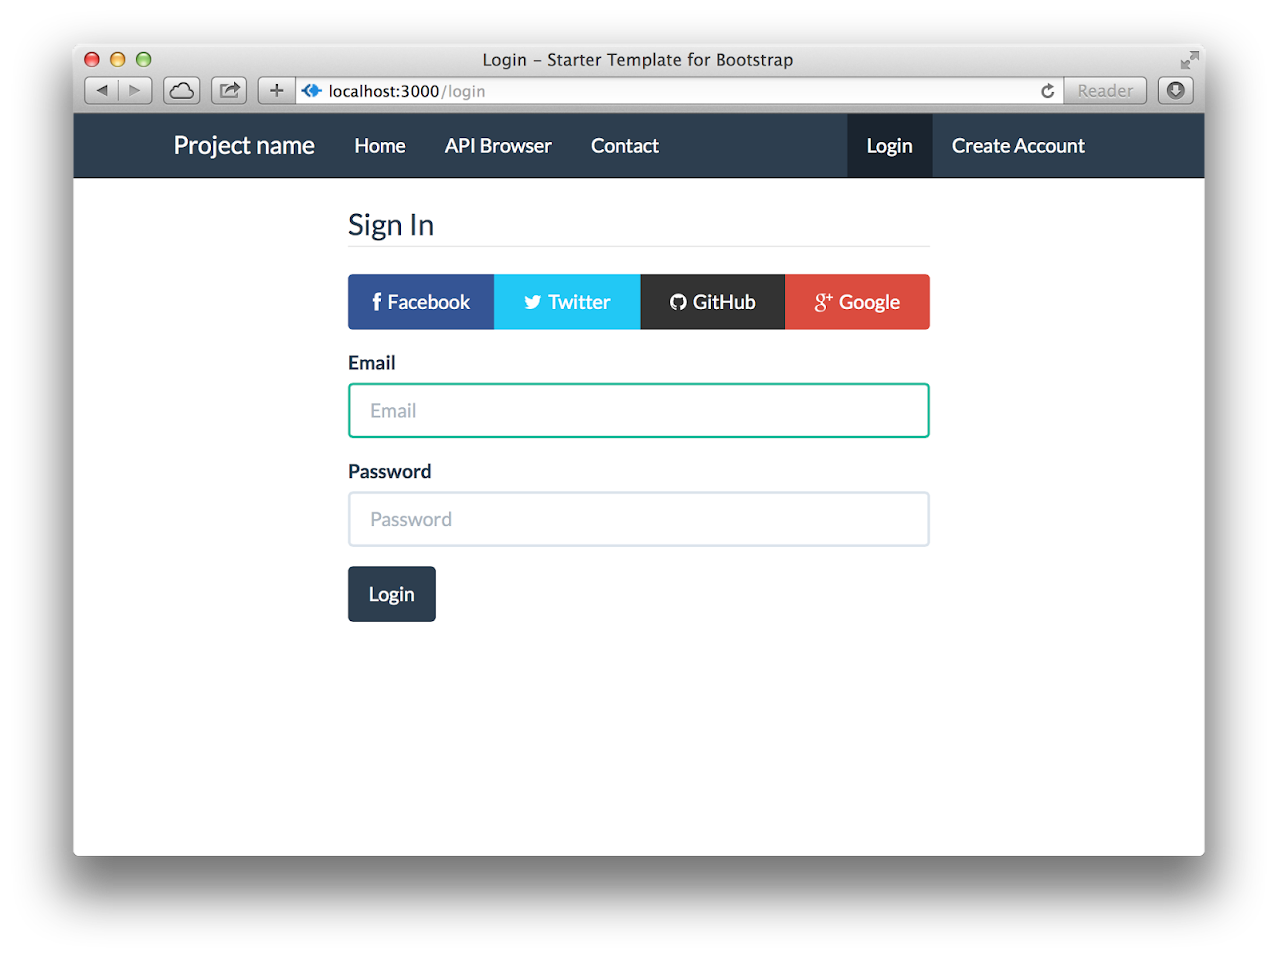
Default Theme
Features
--------
- Local authentication using Email and Password
- OAuth2 authentication via Twitter, Facebook, Google or GitHub
- MVC Code Structure
- Bootstrap 3 + Flat UI + iOS7 Themes
- LESS stylesheets (auto-compiled)
- Contact Form (powered by Sendgrid)
- Account Management page
- 9 API Examples
Prerequisites
-------------
> - MongoDB
> - Node.js
> - **Xcode** (Mac OS X) or **Visual Studio** (Windows)
Getting Started
---------------
The easiest way to get started is to clone the repository:
```bash
# Fetch only the latest commits.
git clone --depth=1 git@github.com:sahat/hackathon-starter.git
# Move the repository to your own project name.
mv hackathon-starter my-project
cd my-project
# Install NPM dependencies
npm install
node app.js
```
> **Note**: I strongly recommend installing nodemon `sudo npm install -g nodemon`.
> It will monitor for any changes in your node.js
> application and automatically restart the server. Once installed, instead of `node app.js` use `nodemon app.js`.
> It will be a huge time saver.
Next up, if you want to use any of the APIs or OAuth2 authentication methods, you will need to obtain
appropriate credentials: Client ID, Client Secret, API Key, or Username & Password. You will
need to go through each provider to generate new credentials.
Obtaining API Keys
------------------
 - Go to [https://cloud.google.com/console/project](https://cloud.google.com/console/project)
- Click **CREATE PROJECT** button
- Enter *Project Name*, then click **CREATE**
- Then select *APIs & auth* from the sidebar and click on *Credentials* tab
- Click **CREATE NEW CLIENT ID** button
- **Application Type**: Web Application
- **Authorized Javascript origins**: http://localhost:3000
- **Authorized redirect URI**: http://localhost:3000/auth/google/callback
- Copy and paste *Client ID* and *Client secret* keys into `config/secrets.js`
> **Note**: When you ready to deploy to production don't forget to add
> your new url to Authorized Javascript origins and Authorized redirect URI,
> e.g. `http://my-awesome-app.herokuapp.com` and `http://my-awesome-app.herokuapp.com/auth/google/callback` respectively.
Recommended Node.js Libraries
-----------------------------
- nodemon - automatically restart node.js server on code change.
- geoip-lite - get location name from IP address.
- [node-validator](https://github.com/chriso/node-validator) - input validation and sanitization.
Recommended client-side libraries
---------------------------------
- [Hover](https://github.com/IanLunn/Hover) - awesome css3 animations on mouse hover.
- [platform.js](https://github.com/bestiejs/platform.js) - get client's operating system name, version, and other useful information.
- [iCheck](https://github.com/fronteed/iCheck) - custom nice looking radio and check boxes.
Contributing
------------
If something is unclear, confusing, or needs to be refactored, please let me know. Pull requests are always welcome, but due to the opinionated nature of this project, I cannot accept every pull request. Please open an issue before submitting a pull request.
- Go to [https://cloud.google.com/console/project](https://cloud.google.com/console/project)
- Click **CREATE PROJECT** button
- Enter *Project Name*, then click **CREATE**
- Then select *APIs & auth* from the sidebar and click on *Credentials* tab
- Click **CREATE NEW CLIENT ID** button
- **Application Type**: Web Application
- **Authorized Javascript origins**: http://localhost:3000
- **Authorized redirect URI**: http://localhost:3000/auth/google/callback
- Copy and paste *Client ID* and *Client secret* keys into `config/secrets.js`
> **Note**: When you ready to deploy to production don't forget to add
> your new url to Authorized Javascript origins and Authorized redirect URI,
> e.g. `http://my-awesome-app.herokuapp.com` and `http://my-awesome-app.herokuapp.com/auth/google/callback` respectively.
Recommended Node.js Libraries
-----------------------------
- nodemon - automatically restart node.js server on code change.
- geoip-lite - get location name from IP address.
- [node-validator](https://github.com/chriso/node-validator) - input validation and sanitization.
Recommended client-side libraries
---------------------------------
- [Hover](https://github.com/IanLunn/Hover) - awesome css3 animations on mouse hover.
- [platform.js](https://github.com/bestiejs/platform.js) - get client's operating system name, version, and other useful information.
- [iCheck](https://github.com/fronteed/iCheck) - custom nice looking radio and check boxes.
Contributing
------------
If something is unclear, confusing, or needs to be refactored, please let me know. Pull requests are always welcome, but due to the opinionated nature of this project, I cannot accept every pull request. Please open an issue before submitting a pull request.